

The best camera is the one you have on you, and for many of us, that's our phone. In fact, for many of us, the best camera we own is our phone. Of course, having a good camera is just the starting point. With a little bit of extra thought, you can take what would have been a good photo and turn it into a great one.
With that in mind, we're going to go through some of our favourite iPhone photography tips to help you make your happy snaps even happier.
Follow the rule of thirds
One of the best ways to improve your photography is by following the rule of thirds. While not specific to iPhone photography, the rule of thirds is a composition guideline that applies to all visual mediums. Instead of centring your subject, the rule of thirds suggests using the thirds of an image to create a more interesting shot.
To help frame up shots using the rule of thirds, the iPhone camera app has grids that you can turn on. To do this, follow these steps:
- Open the Settings app
- Scroll down to and tap on Camera
- Toggle on Grid
Here's a shot where I haven't used the rule of thirds:
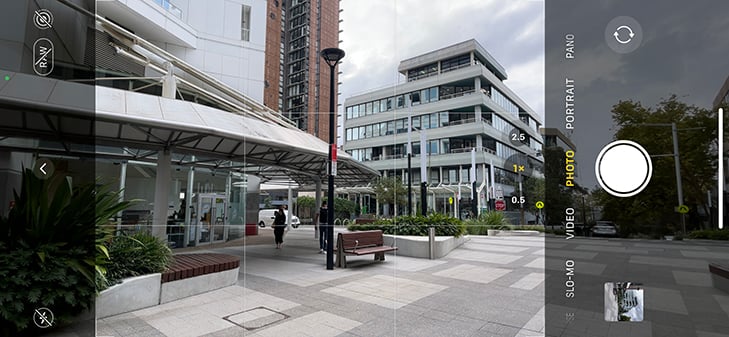
And here's one where I've framed up the elements using the iPhone's grid:
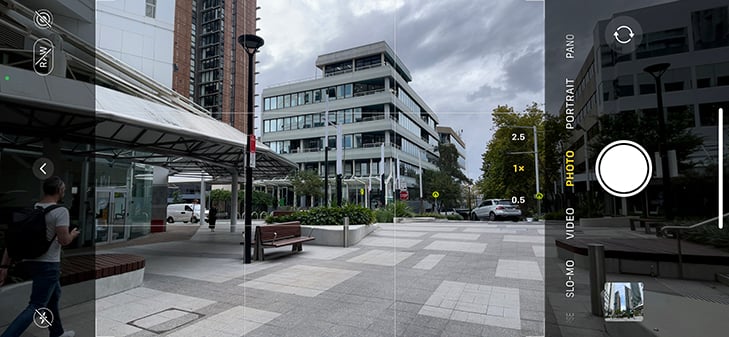
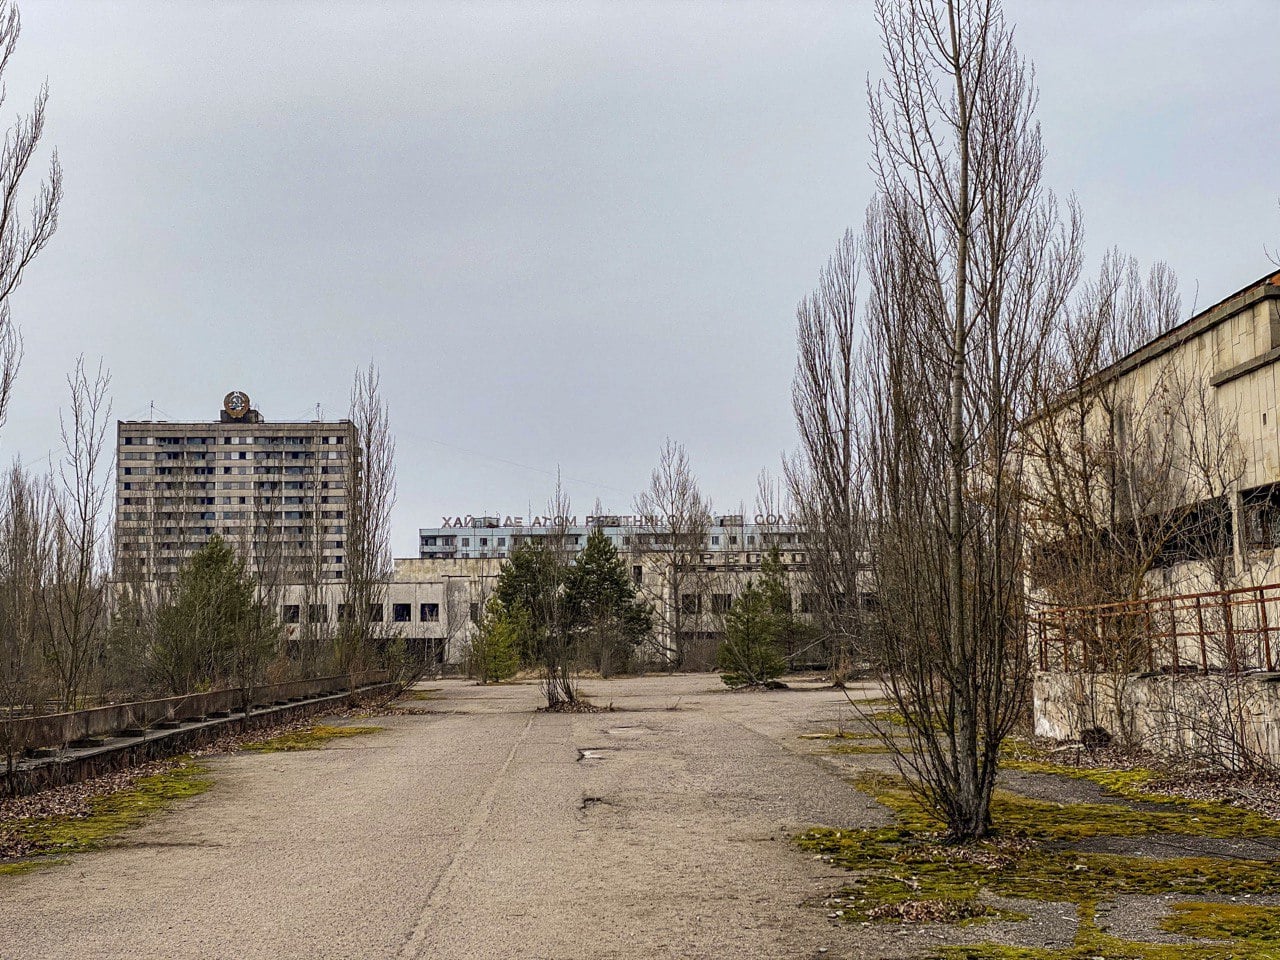
You don't have to be exactly precise, but by using the thirds of a photo, you can get a more interesting image.
Change your perspective
If you're trying to get interesting shots, the simplest way is to look at the world differently. Get closer to your subject. Shoot from above. Shoot from below if you can. One of my favourite ways to make a photo look that little more dramatic is to crouch down. We're used to seeing the world at eye height, so crouching to take a photo can create an entirely different feel.
Here's a shot from my eyeline:

Whereas for this one, I dropped the iPhone onto the picnic blanket:

Don't use flash
If you're trying to take bright photos in lowlight, the iPhone camera flash can occasionally be helpful, but for the most part, it ends up hurting the overall look of your shot. A flash makes your image unnaturally bright, so you lose a lot of the contrast you'd normally get if you're shooting without it. If you're shooting people, that much direct lighting is often too harsh. If you have an iPhone 11 or iPhone 12, the integrated night mode will be more helpful in lowlight and get more natural shots.
To disable flash, tap the lightning icon in the top left hand corner of the camera app. You know it's off if it's got a strike through it.
The iPhone has a burst mode
If you're trying to capture a fast subject or say a live show, burst mode can be helpful in getting a clear shot. If you have an iPhone XS, iPhone XR, or older, holding down the shutter button on your screen or the volume down button will start capturing a burst.
On iPhone 11 and newer, slide the shudder button to the left to start capturing a burst. Alternatively, you can use the volume up button to do so, but you'll need to enable this by following these steps:
- Open the Settings app
- Scroll down to and tap on Camera
- Toggle on Use Volume Up for Burst
In every single case, your iPhone will keep shooting for as long as you hold the button. After you're done, you'll be able to view these in your camera roll by tapping Select… on the resulting burst photo. Here you'll be able to choose favourites and be given the option to delete everything else. Your iPhone will automatically suggest the images it thinks are best, and designates these with a grey dot.
Use the timer for sharper photos
If you're having trouble getting sharp photos, you should try turning on the camera timer. This means you won't have to touch screen or tap the volume button to take a photo, minimising any extra shake those motions can add. To turn on the timer, follow these steps:
- Tap the up arrow in the Camera app (assuming your iPhone is in portrait)
- Tap the timer icon (it's the last one)
- Choose how long you want the timer to be on for
Using the timer to take photos also means you can hold your phone differently and get shots you might not have been able to if you had to tap the screen to get your photo.
Hug a tree
No, we're not just hugging trees because they're one of the core reasons we're still alive, we're doing so because it essentially turns you into a human tripod. If you wrap your arms around a tree, a pole, or anything similar, it will stabilise your body and in turn help you get sharper shots. This can be especially helpful when using night mode.
Third party apps allow more manual control
If you want more granular control over your iPhone photography, you'll want to check out a third party camera app like Halide. Halide, for example, gives you manual options you won't find in the iPhone camera app, and lets you set your own white balance, shutter speed, and ISO rather than leaving it up to your phone.
Use Snapseed or Lightroom for better edits
The iPhone camera app has got pretty decent editing tools now, but if you’re looking to go further, it's worth checking out Snapseed or Lightroom. Both apps give you a wealth of editing tools that go beyond the basics of adjusting brightness, contrast, and the like. You can tune effects with precision (rather than applying them to the entire image), get professional grade options like adjusting individual colours (really making the red pop without impacting the rest of the photo), and more. You'll find both on the App Store.
Here's an edit where I managed to bring out a lot more of the sunrise in a photo and add more definition to the houses:
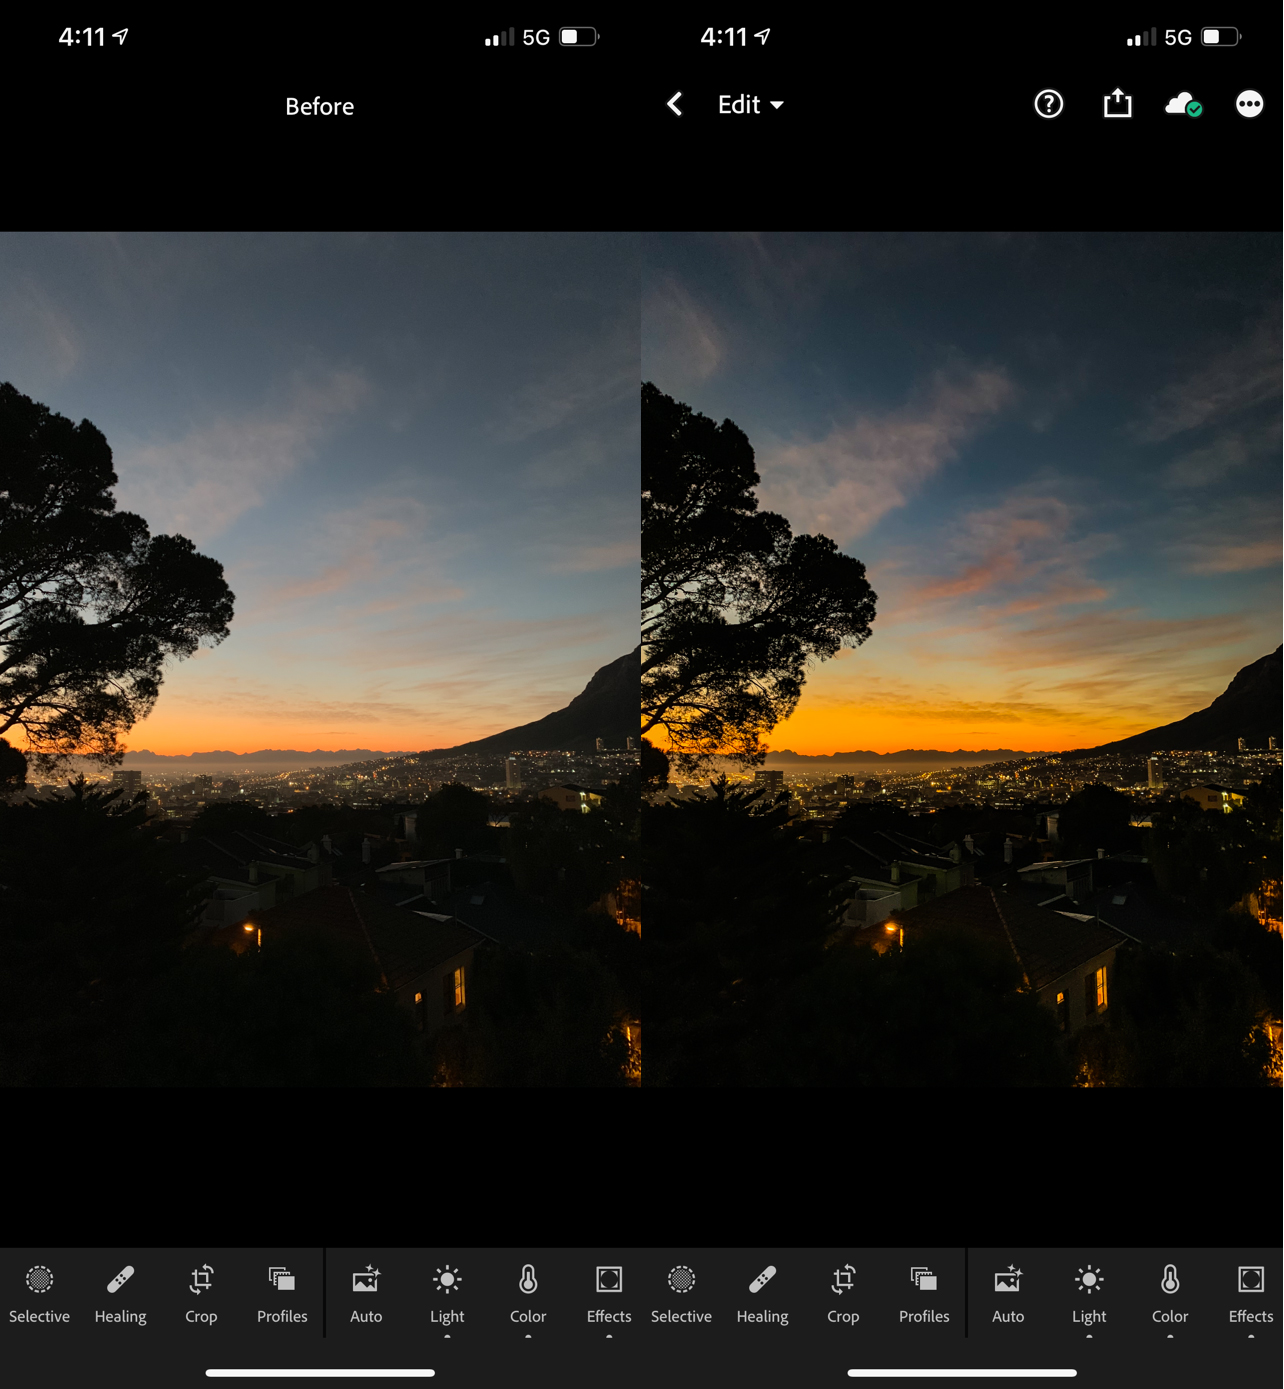
And here's an edit where I was able to use Lightroom's cloning tool to fix some of the blowout in the skyline:

Alex Choros

Related Articles


