
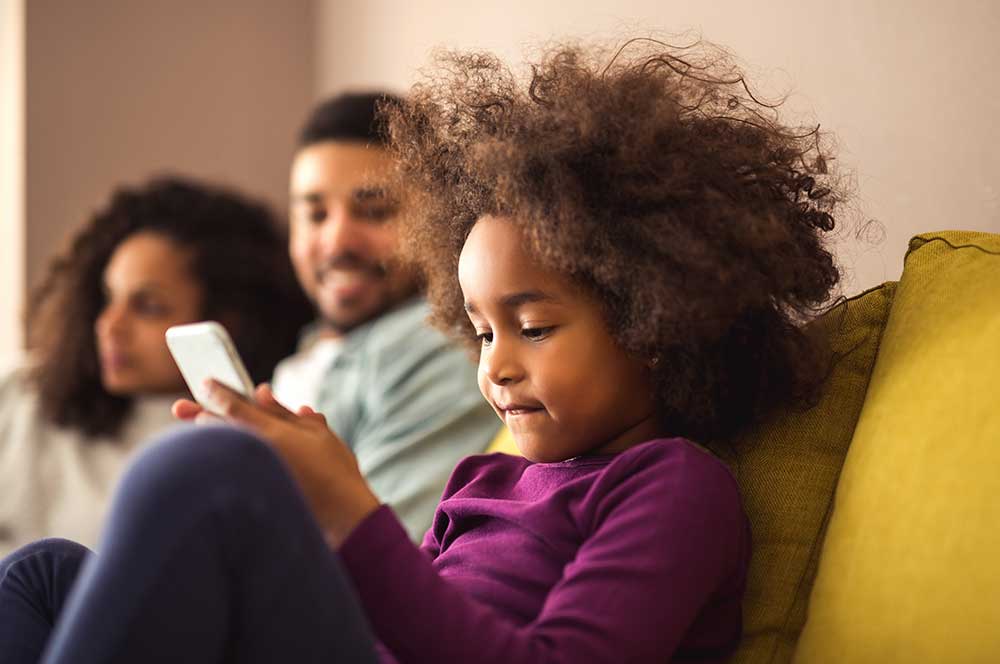
So you're giving your child an iPhone. Maybe it's a hand-me-down, or maybe it's brand spanking new, but either way, you might want to consider setting up parental controls.
At a minimum, these can help ensure your kid doesn't spend big bucks on in-app purchases; or if you want to go extreme, you can turn an iPhone into a device that doesn't do much more than talk and text.
You're the parent - the choice of how far you want to go is up to you.
Setting up iPhone Parental Controls
If you're handing down an old device, you'll want to wipe it first to clear off your personal information. Follow these steps:
- Open the Settings app
- Tap General, then Transfer or Reset iPhone
- Then choose Erase All Content and Settings
Before you set up an iPhone for your kid, you'll want to create an Apple ID for them. Do this using your iPhone. You can create a Child Account for children aged 12 or younger.
- Open the Settings app, tap on your name, and then Family Sharing
- Tap Create Child Account
- Enter your child's name and date of birth then tap Verify You Are an Adult
- Enter the requested information for your payment method and tap next, you wont be charged. If you don't have a payment method on file, you will need to add one
- Read the Family Privacy Disclosure and tap Agree
- Read the Terms and Conditions and tap Agree
- Create their Apple ID (you can use the pre-filled email or use an email address you already have for your child, tap Continue
- Follow the onscreen instructions to set a password and security questions for your child's Apple ID, tap Continue
- Follow the onscreen instructions to either use your phone number as a verification code or set up their number instead
If your child already has an Apple ID, add them to Family Sharing using the Tap Add Family Member button instead.
You'll now be prompted to turn on parental controls via Screen Time you can do this or skip it for later.
If your child is under 13, Ask to Buy is turned on by default. This means that if your kid attempts to buy something through iTunes, the App Store or Apple Books, you'll be prompted first. If you want to turn this on for an older kid (or turn this off), you'll find the option by tapping their name in the Family Sharing menu.
You'll also be prompted to share your child's location with the family. You can tap Share Location to turn it on or tap Skip to do it later (see how).
Now that you have an Apple ID for your kid, you'll be asked to enter these details when you first set up their iPhone. If you're not setting it up from scratch, you'll want to follow the following steps:
- Open the Settings app
- Tap Sign in to your iPhone
- Enter the details for the Apple ID you created for your kid
Before you start adding further parental controls, use the App Store to install any apps you're okay with your kid having on their phone.
Preventing access to explicit content on iPhone

You'll find an iPhone's Parental Controls by following these steps:
- Open the Settings app, tap Family, and then tap your child's profile
- Tap Screen Time
- Use the slider for suggested content restrictions or set your own
- Tap Turn On Restrictions
- You can continue restricting apps or skip the next screens
- Finally, set a Screen Time Passcode, remember this four-digit code as it will be required to make further changes to your child's Screen Time settings
- Revisit Screen Time if you want to adjust or change any settings
You'll see (and be able to adjust) restrictions by age or classification for:
- Apps
- Books
- TV Shows
- Movies
These ratings only apply to content access through Apple's apps. For example, filtering out explicit movies will only do so for iTunes content, not for other apps like Youtube, Netflix or Stan. These apps have their own parental control systems you can apply.
You can also choose between "Clean" or "Explicit" settings for Apple media such as Music, Podcasts and News and either disable or enable Music Videos and Music Profiles. If you scroll further you'll see Safari can be set to "Limit Adult Websites" which uses Apple's block list. You can take it a step further and select "Allowed Websites" to create a white list of your own instead. If you create a white list your child will only be able to access websites that you've approved - you'll want to make sure they have access to everything they may actually need.
There are further options including:
- Turning off Siri Web Search
- Preventing Siri from displaying explicit language
- Disable the option for your child to delete apps from their phone
Finally, Apple products have a Communication Safety feature that can prevent children from sharing photos in Messages that may be sensitive. The messages app can detect nude photos before they're sent or received on your kid's device and provide age-appropriate resources on their choices. Apple does not have access to those photos.
Adjusting Parental Control Settings
Outside of the initial set-up, you can return anytime to Screen Time in the Settings app and tap Content and Privacy Restrictions followed by Content Restrictions to review all of these settings.
You'll even find Game Center controls that aren't available during the initial set-up.
Restricting apps via iPhone Parental Controls
If you choose to continue setting restrictions on your child you have even more options.
Downtime
Downtime sets up a period of time in which your child needs your permission to spend more time on their phone. This defaults to between 10pm and 7am but you can adjust it however you wish.
App and website limits
You can also set up app and website limits, for example, a limit on TikTok to prevent them from scrolling mindlessly for hours on end.
These can be set at the category level for all apps within a category including:
- Social
- Games
- Entertainment
- Creativity
- Productivity and Finance
- Education
- Information and Reading
- Health and Fitness
- Utilities
- Shopping and Food
- Travel
- Other
Content and Privacy Restrictions
You can visit Allowed Apps within Content and Privacy Restrictions to disable the following apps entirely:
- Safari
- FaceTime
- SharePlay
- Camera
- Siri and Dictation
- Wallet
- AirDrop
- CarPlay
- Podcasts
- News
- Health
- Fitness
You'll also find settings here for iTunes and App Store purchases to disable:
- Installing new apps
- Deleting existing apps
- Making in-app purchases
Deleting apps
Depending on how hard you want to lock down your kid's iPhone, you can also delete a range of built-in apps. If you've prevented the iPhone from installing new apps, your child won't be able to get them back.
- Contacts
- Music
- Activity
- Maps
- Watch
The built-in apps that you can't remove are:
- App Store
- Camera
- Messages
- Phone
- Photos
- Safari
- Settings
- Wallet
Essentially, if you're a particularly strict parent or your kid is especially young, you can turn an iPhone into a device that doesn't do anything other than make phone calls and send text messages.
How do I add my child to Find My?
Find My (formerly Find My iPhone) is an iPhone feature that lets you locate your family members. To set it up, you'll need to have the Find My app installed on both your iPhone and your child's iPhone. After you've done that, follow these steps on your child's iPhone:
- Open the Settings app, and tap your child's name and Family Sharing
- Tap Share My Location
- Tap your name and the name of any other family members you want your child's location to be shared with
After you've done this, you'll want to go back to Restrictions (typing in the PIN you used to lock them) to access those settings. You'll need to scroll down to Privacy and lock the setting for Share My Location. This will prevent your child from turning off Find My Friends.
You'll then be able to use Find My Friends on your iPhone to see where their iPhone is.
If you have Find My enabled on your child's iPhone, you'll also be able to access Find My functionality for the device. This lets you see the location of the device, play a sound on it to help you find it, and put in Lost Mode (which locks the device, disables Apple, and can display a custom message). Learn more about finding your kid's iPhone.
Best iPhone for kids
If you want to buy your kid a new iPhone, it's hard to go past the latest iPhone SE. It's the perfect size for little hands and it's the cheapest new iPhone on the market. You can buy it outright for $719, or alternatively, plans start at around $80 per month on a 24-month plan.
You can also always consider a refurbished iPhone which is a lot cheaper and can be paired with any SIM-only plan.
Dylan Crismale
Digital Content Editor

Related Articles


